

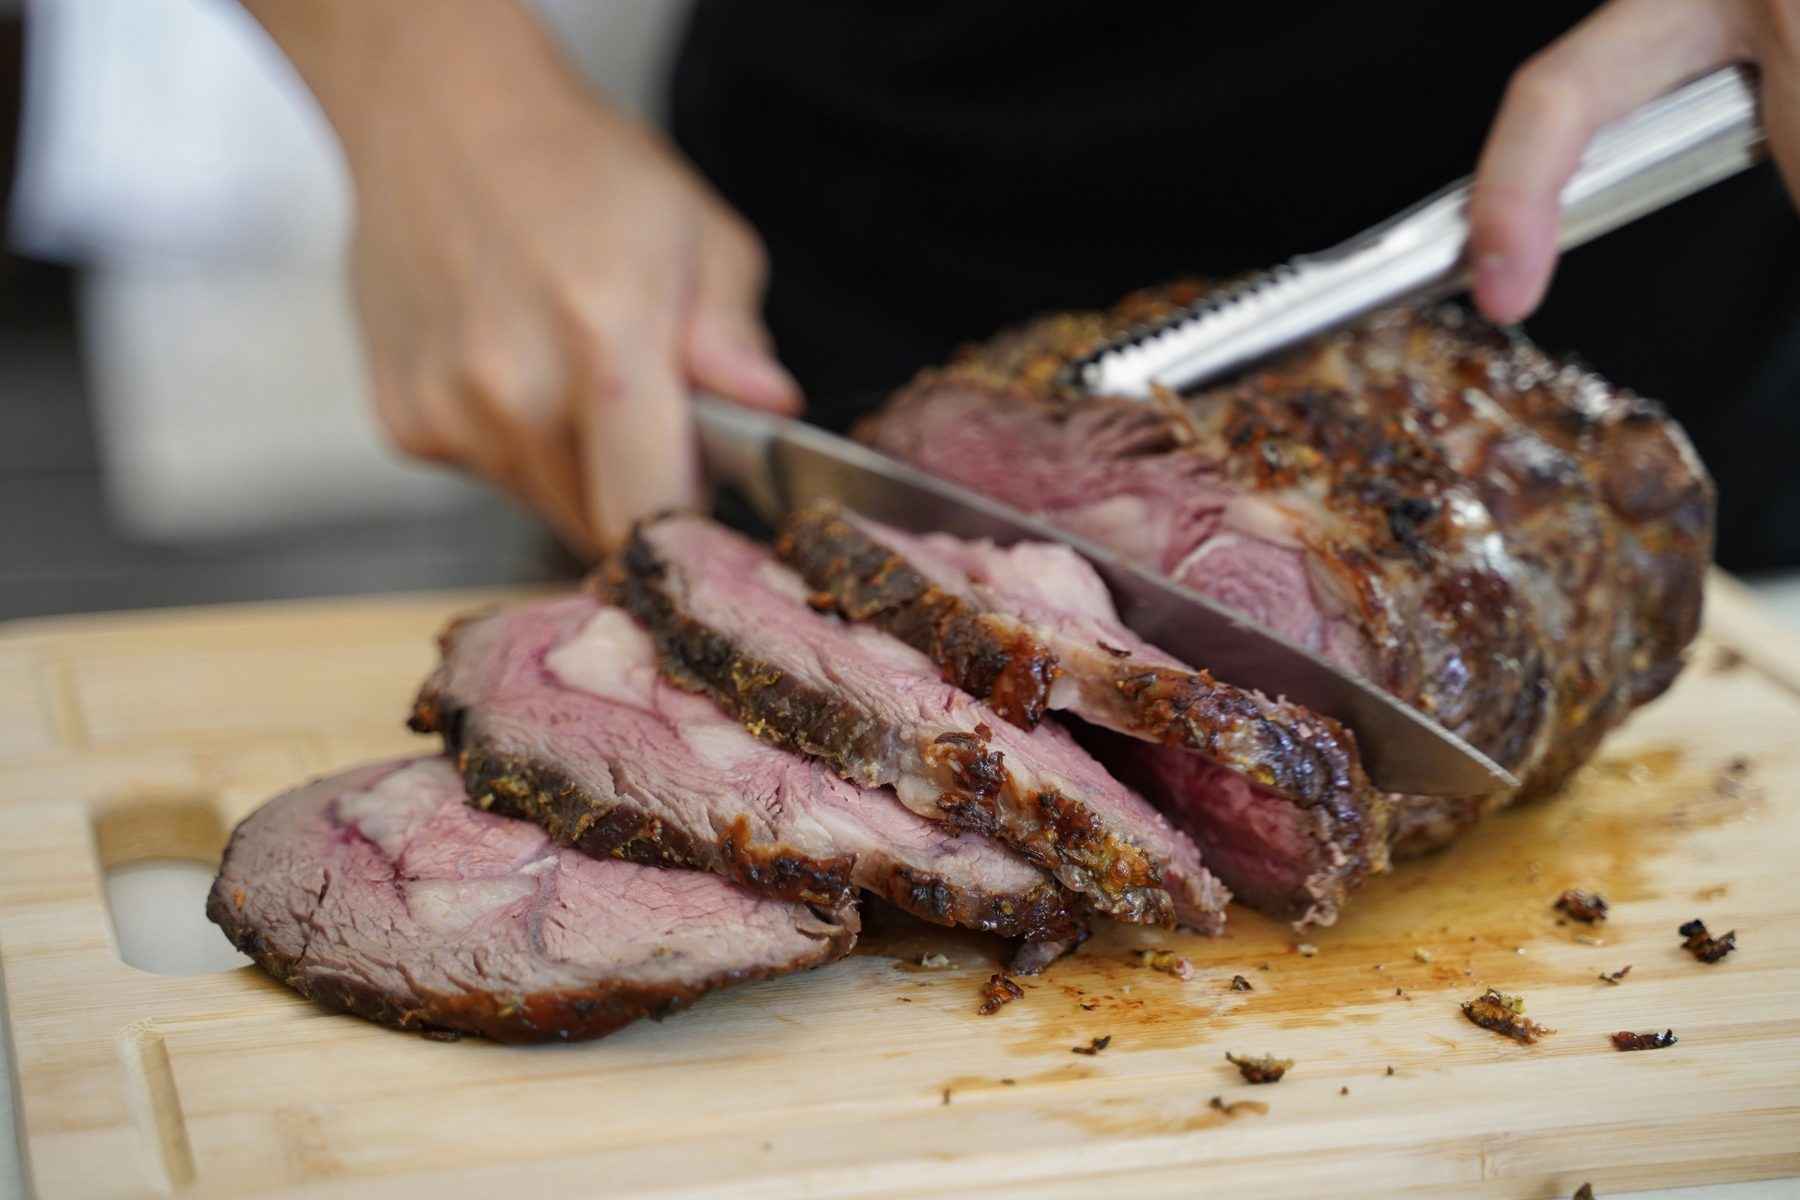
The room goes quiet when a prime rib reaches the table. Its browned, peppery crust gives way to a warm pink center, and everyone is watching the same thing: the first slice. Knowing how to carve prime rib is less about theatrical knife work than protecting what makes the roast special – its rendered fat, its deeply beefy juices, and the contrast between a crisp exterior and a tender interior.
A good roast can survive a slightly uneven slice. What it cannot recover from is being cut while still tense from the oven, hacked with a dull knife, or sawn into ragged pieces that shed their juices onto the board. Give the carving its own few calm minutes, and the meal will look and eat like the occasion it was meant to be.
Before You Carve Prime Rib, Let It Rest
Resting is the first part of carving, even if it feels like the least glamorous one. Once the roast comes out of the oven, its juices are actively moving under pressure. Cut into it immediately and they will flood the board. Rest it for 20 to 30 minutes, loosely covered with foil if your kitchen is cool. A very large roast may benefit from 30 to 40 minutes.
This is also when the internal temperature settles. Prime rib is generally at its most luxurious around medium-rare, with a rosy red center and a soft, yielding texture. If the roast was pulled at the appropriate temperature, resting gives you a more even interior from edge to center. The exterior will not stay shatteringly crisp under tight foil, so keep the tent loose rather than wrapping the roast.
Set the roast on a stable carving board with a groove to catch juices. If you do not have one, place the roast on a rimmed sheet pan or use a board over a larger platter. Those drippings are not waste. Spoon them over the slices or whisk them into a quick jus with a little warm stock and a splash of wine.
The Tools That Make Clean Slices Possible
Use a long, sharp carving knife or slicing knife, ideally with a narrow blade that glides through the meat instead of pushing it apart. An electric knife is useful for feeding a very large group and can produce impressively even slices, but it is not required. A sharp conventional knife gives you more control around the bones and fat cap.
You will also want a sturdy carving fork or tongs, though a fork should steady the roast rather than pierce every slice. Repeated punctures create more places for juice to escape. Keep a warm platter nearby, along with a pair of kitchen towels for gripping a hot bone if necessary.
A serrated bread knife is not the answer here. It may get through the crust, but its sawing action tends to tear the tender interior. The goal is a confident, nearly full-length stroke with a sharp blade.
How to Carve a Bone-In Prime Rib
A bone-in roast is the classic centerpiece because the rib bones add insulation during cooking and create an especially dramatic presentation. The easiest way to carve it is to separate the bones first, then slice the boneless roast.
Position the roast correctly
Place the roast with the rib bones facing down and the fat cap facing up. The bones act like a built-in rack, which means the roast should sit securely. Look along the side of the roast to identify where the meat meets the curved bones.
Remove the rib rack in one piece
Hold the roast steady with tongs or a carving fork. Starting at one end, run your carving knife along the natural seam between the bones and the meat. Use long, deliberate strokes, keeping the blade close to the bones so you do not leave a thick layer of prized meat behind.
Work from one end of the rack to the other. There is no need to rush or force the knife. If you meet resistance, reposition the blade at the seam instead of cutting straight through it. Once freed, set the rib rack aside on the platter. Many guests will be delighted to claim a bone, especially when the edges are lacquered with crust and rendered fat.
Slice the roast across the grain
With the bones removed, place the roast cut-side down for stability if it sits securely that way. Slice from the end of the roast, cutting crosswise into portions. The grain in a rib roast generally runs lengthwise, so crosswise slices shorten those muscle fibers and make each bite more tender.
Aim for slices between one-half and three-quarters of an inch thick for a dinner plate. That thickness delivers the right balance: enough rosy interior to feel generous, enough crust and fat cap to keep the bite interesting. For a buffet, slightly thinner slices stretch the roast further; for a smaller, steakhouse-style dinner, a full inch is entirely reasonable.
Avoid pressing down on the knife or using a back-and-forth sawing motion. Let the blade do the work. Each slice should fall away with a clean face, a narrow ribbon of fat along one edge, and as little pooling juice as possible.
How to Carve a Boneless Prime Rib
Boneless prime rib is simpler to carve but can be less stable, particularly if it has been tied into a compact cylinder. Remove the butcher’s twine before slicing. Do this carefully, one string at a time, so the roast does not suddenly loosen and roll.
Set the roast on its flattest side. If it has an irregular shape, trim only a tiny end slice to create a stable base rather than trying to hold it in place with force. Then cut crosswise against the grain, using the same long, smooth strokes you would for a bone-in roast.
Because a boneless roast is often more uniformly shaped, it is a good choice when you want highly consistent slices. The trade-off is that it can cook a little more quickly and lacks the visual drama of the bone rack. Neither choice is inherently better. For a formal table, bones have presence; for easy portioning, boneless has an advantage.
Portioning for the Table You Have
Prime rib is rich. A portion that looks modest beside a ribeye often feels generous once there are potatoes, Yorkshire pudding, creamed greens, or a bright winter salad on the table. Plan on about 8 to 10 ounces of cooked meat per adult if the roast is the main event and there are substantial sides. Hungry guests and bone-in roasts require a little more allowance because the bones take up part of the weight.
Serve the first slices from the center to guests who prefer medium-rare. End pieces will be more cooked, and they are often ideal for diners who want medium or medium-well beef. This is one of prime rib’s quiet advantages: a single roast naturally offers a range of doneness without turning dinner into a negotiation.
If you are serving the roast over a long evening, slice only what you expect to serve immediately. Leaving the remainder intact helps retain heat and moisture. Arrange the slices slightly overlapping on a warmed platter and spoon just enough jus over them to gloss the surface. Drowning the meat obscures the crust and cools it too quickly.
The Common Carving Mistakes to Avoid
The most frequent error is slicing too soon. A second is using a knife that is sharp enough for vegetables but not for a roast. Hone or sharpen it before guests arrive, not when the roast is resting and everyone is hungry.
Another mistake is treating every slice as identical. A prime rib has a gradient of doneness, a fat cap, and occasionally a seam of internal fat that can make one end feel richer than another. Carve thoughtfully rather than mechanically. If a slice has an unusually thick strip of unrendered fat, trim only that excess at the table, preserving the flavorful edge that belongs with the beef.
Finally, do not discard the bones, trimmings, or board juices. The bones make an excellent cook’s treat, while the trimmings and drippings can become the basis of a next-day sandwich, hash, or deeply savory sauce.
Carve slowly enough to honor the roast, then serve it while the center is still warm and luminous. A well-cut slice of prime rib needs very little explanation: a pinch of flaky salt, a spoonful of jus, and a glass with enough freshness to meet all that richness are more than enough.